I’m not normally a negative sort of person. Gardening, with the joys of new growth, fresh air and bird song, brings out the positive in us all. But I was thinking how to write about successful seed sowing this month and actually I thought it might be helpful to share what can go wrong in this simple but satisfying process. By looking at the mistakes I’ve made in the past, perhaps I can help you to get success every time.
In the words of my favourite crooner, the great Bing Crosby: “You’ve gotta accentuate the positive and eliminate the negative” (and yes, you’re welcome to sing along as you sow!)
First, let’s look at what you are sowing into. And I’m talking indoor sowing here; it’s too early to sow out of doors. I’ve learned to my cost that if you use a heavy or general purpose potting mix with lumps, it’s going to be hard for the seeds to push through.
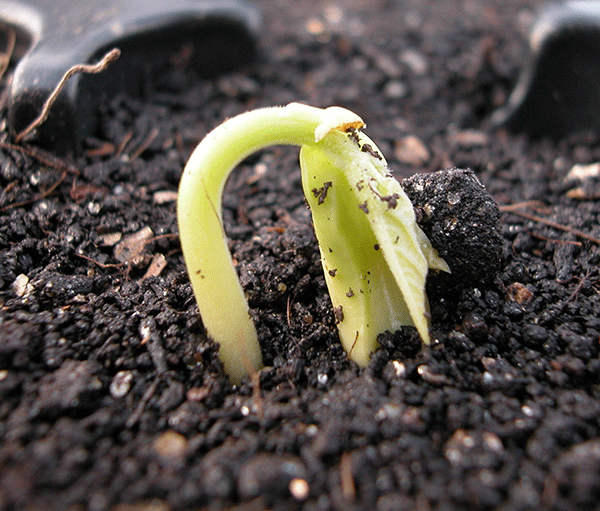
To get the best results for germination, you need a compost which is specially suited to seeds; very fine and low in nutrients. This helps the seeds sprout and put down their tiny roots easily. It will drain well, so prevent flooding and oversaturation. And you don’t need highly fertilised soil, as seeds carry their own nutrient lunch box, so to speak.
It’s worth buying a peat-free potting mix that is specially designed for seeds. They are your babies, so get the best you can afford.

You also need to make sure the soil is firmed down, to prevent air pockets. If the roots only reach air, they can’t anchor themselves. I do this before sowing, using the back of my hand. You might hear gardeners refer to this as ‘tamping’.
Now, let’s look at the seed itself. Don’t be like me and ignore the instructions on the packet! They often give you an indication of when to sow, but also how deep. Tiny seeds, such as poppies and lobelia prefer not to be covered at all. Larger varieties, such as peas and beans, like to be sown at a depth roughly three times their size.
Seeds can also go out of date. I’ve discovered that parsnip, for instance, rarely does well from seed more than a year old. But others may be fine, especially if they have been stored dry and cool.

Here’s a quick way to check if old seeds are still viable. Put a wet folded paper kitchen towel in a margarine tub. Sow half a dozen seeds on top. Cover the top with clingfilm or wrap in a reused plastic bag, and check after 10 days to see if they have germinated. You can then transplant them, paper and all, onto seed compost to grow on.
How can you prevent over watering? I admit to often falling into this trap – I like to think it’s my generous caring nature. Though actually, I’ve killed through kindness. The soil should be damp, but not swimming. Standing your seed tray, margarine tub (with holes in the bottom) or whatever you choose to sow into, in a tray of water will help, as capillary action will draw moisture up.
I’ve also learned to thoroughly dampen the soil before sowing. It helps prevent washing seed up and out as you gaily water from above.
Make sure your babies get warmth and light – a sunny windowsill is perfect.
The Grow Your Own Wicked Leeks series is written by Garden Organic, the national charity for organic growing. Each month we bring you timely advice on what to do in your organic patch, whether you’re an experienced grower or just starting out. Share your own tips and gardening photos on social media under #GYOWickedLeeks.





0 Comments